
How To Draw: Fill A Page With Leaves
Leaves are a great subject because they’re so varied, easy to find and simple to draw. They’re a super sweet decoration for bullet journals (change the colours and types for the seasons!), notebooks or just to doodle in a sketchbook.
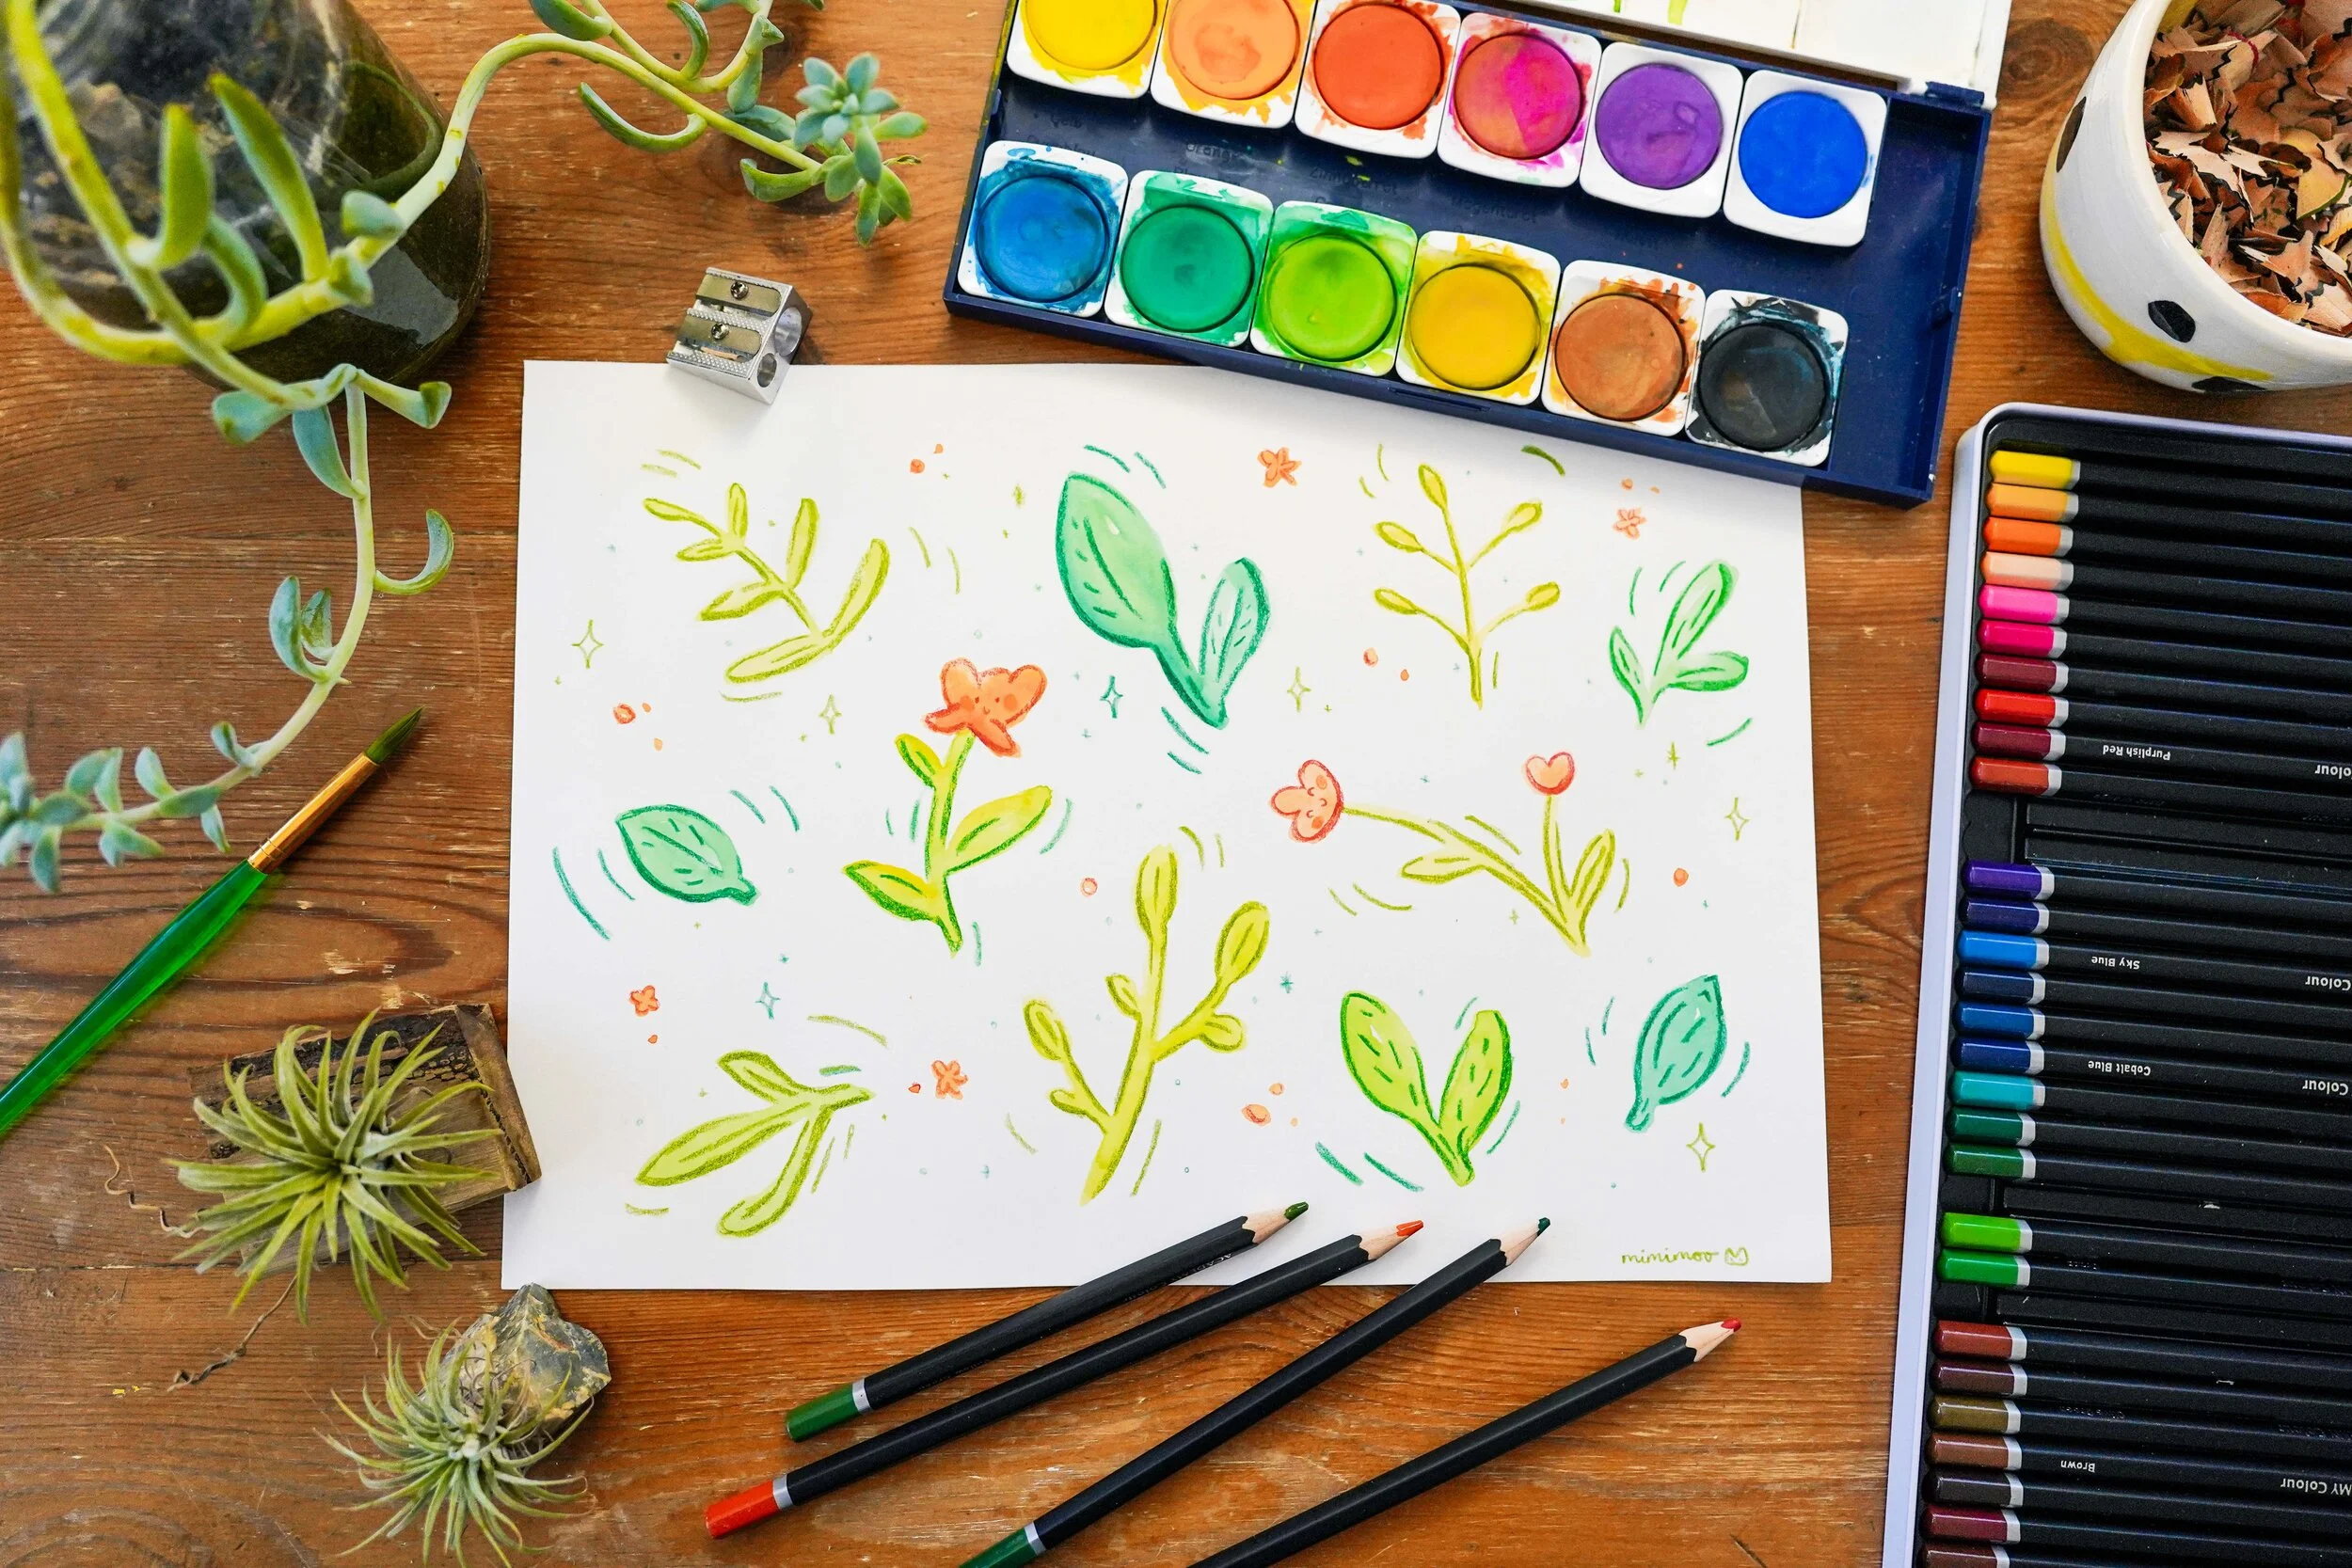
I’m going to show you how I draw a page of happy little plants with watercolour and colour pencil. I love the broad wash of watercolour and the texture of the colour pencils with it.
What you’ll need:
Watercolour paints
Small brush
Watercolour paper (I used A4 for this drawing)
Colour pencils


How to Draw Leaves
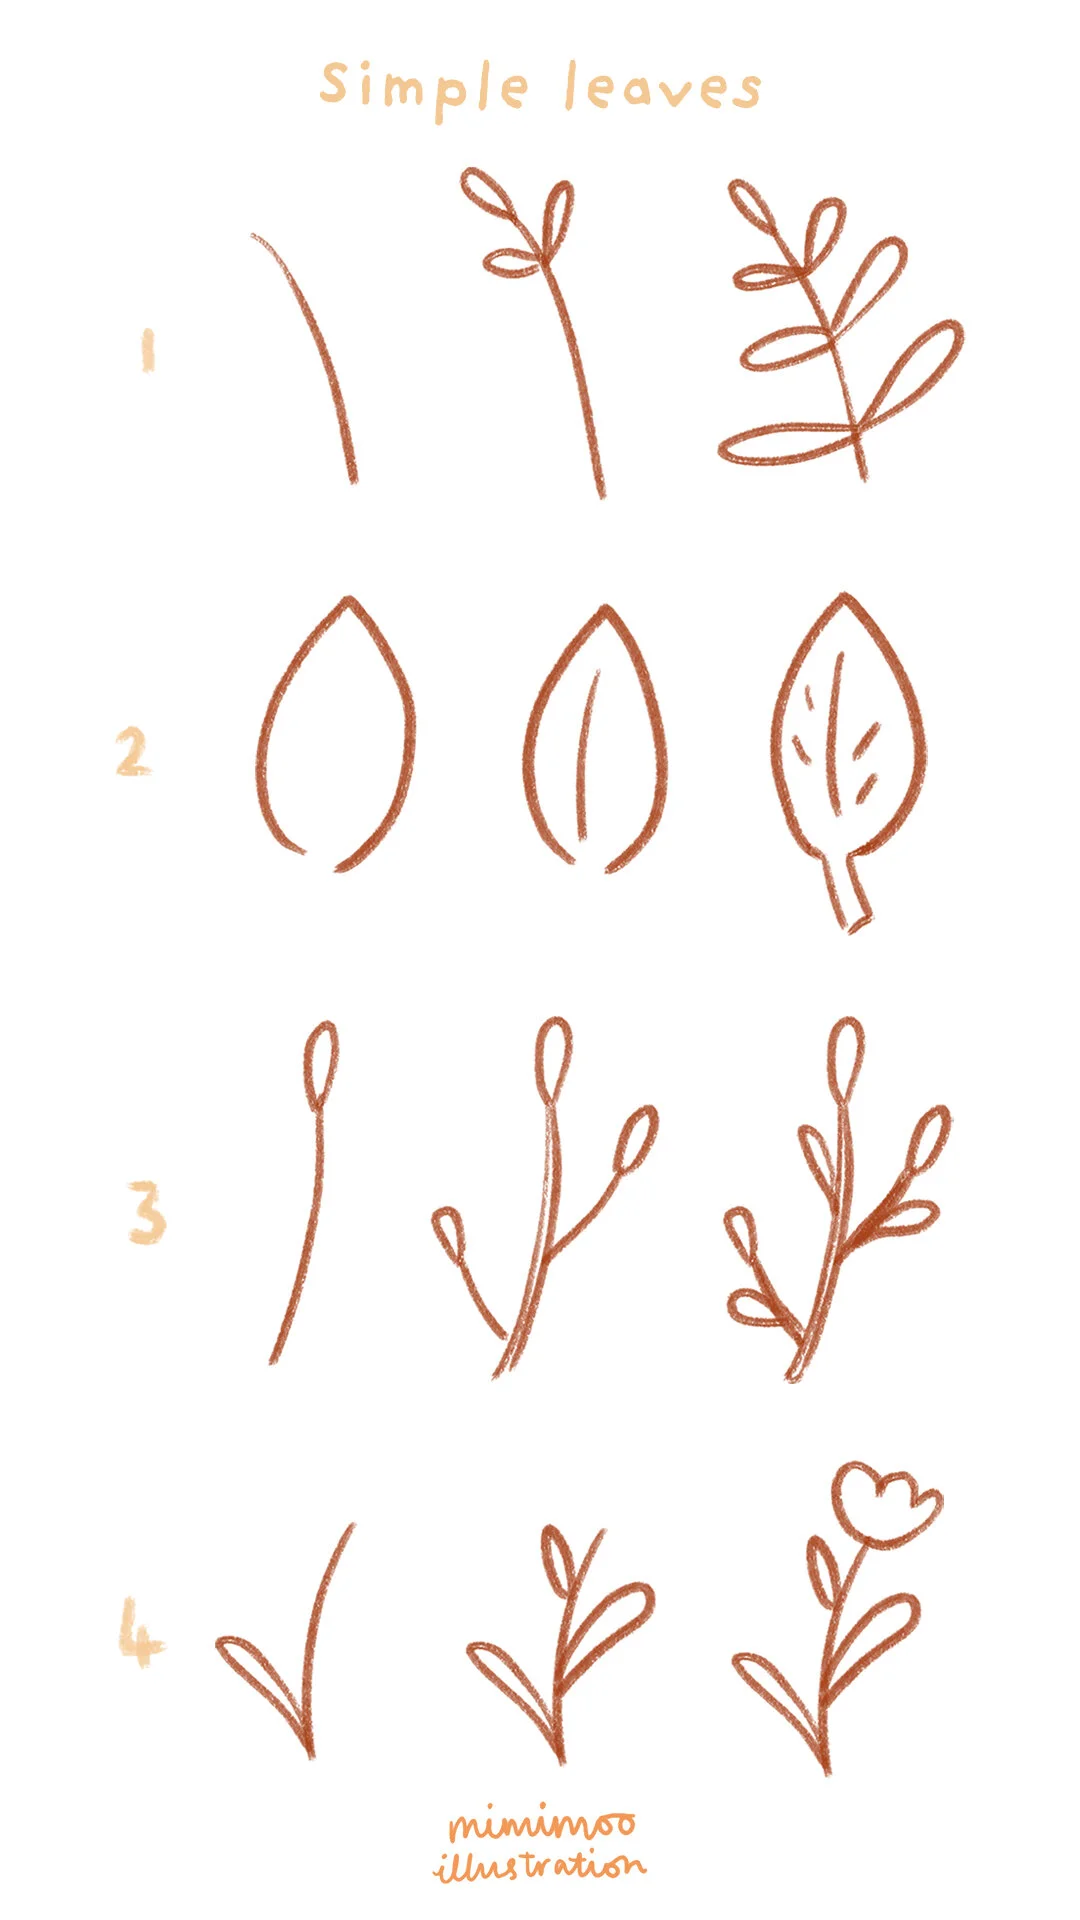
To fill a page of leaves you’re going to need to know a few basic leaf shapes. Nature likes to curve and you’ll rarely find plant shapes that are dead straight, so avoid using straight lines as much as possible.
I’m definitely not a perfectionist, so I like to vary the shapes and sizes of the leaves I draw just a little bit, even if they’re symmetrical. I’ve drawn out a few basic leaf shapes that we’ll be using for you to practise:
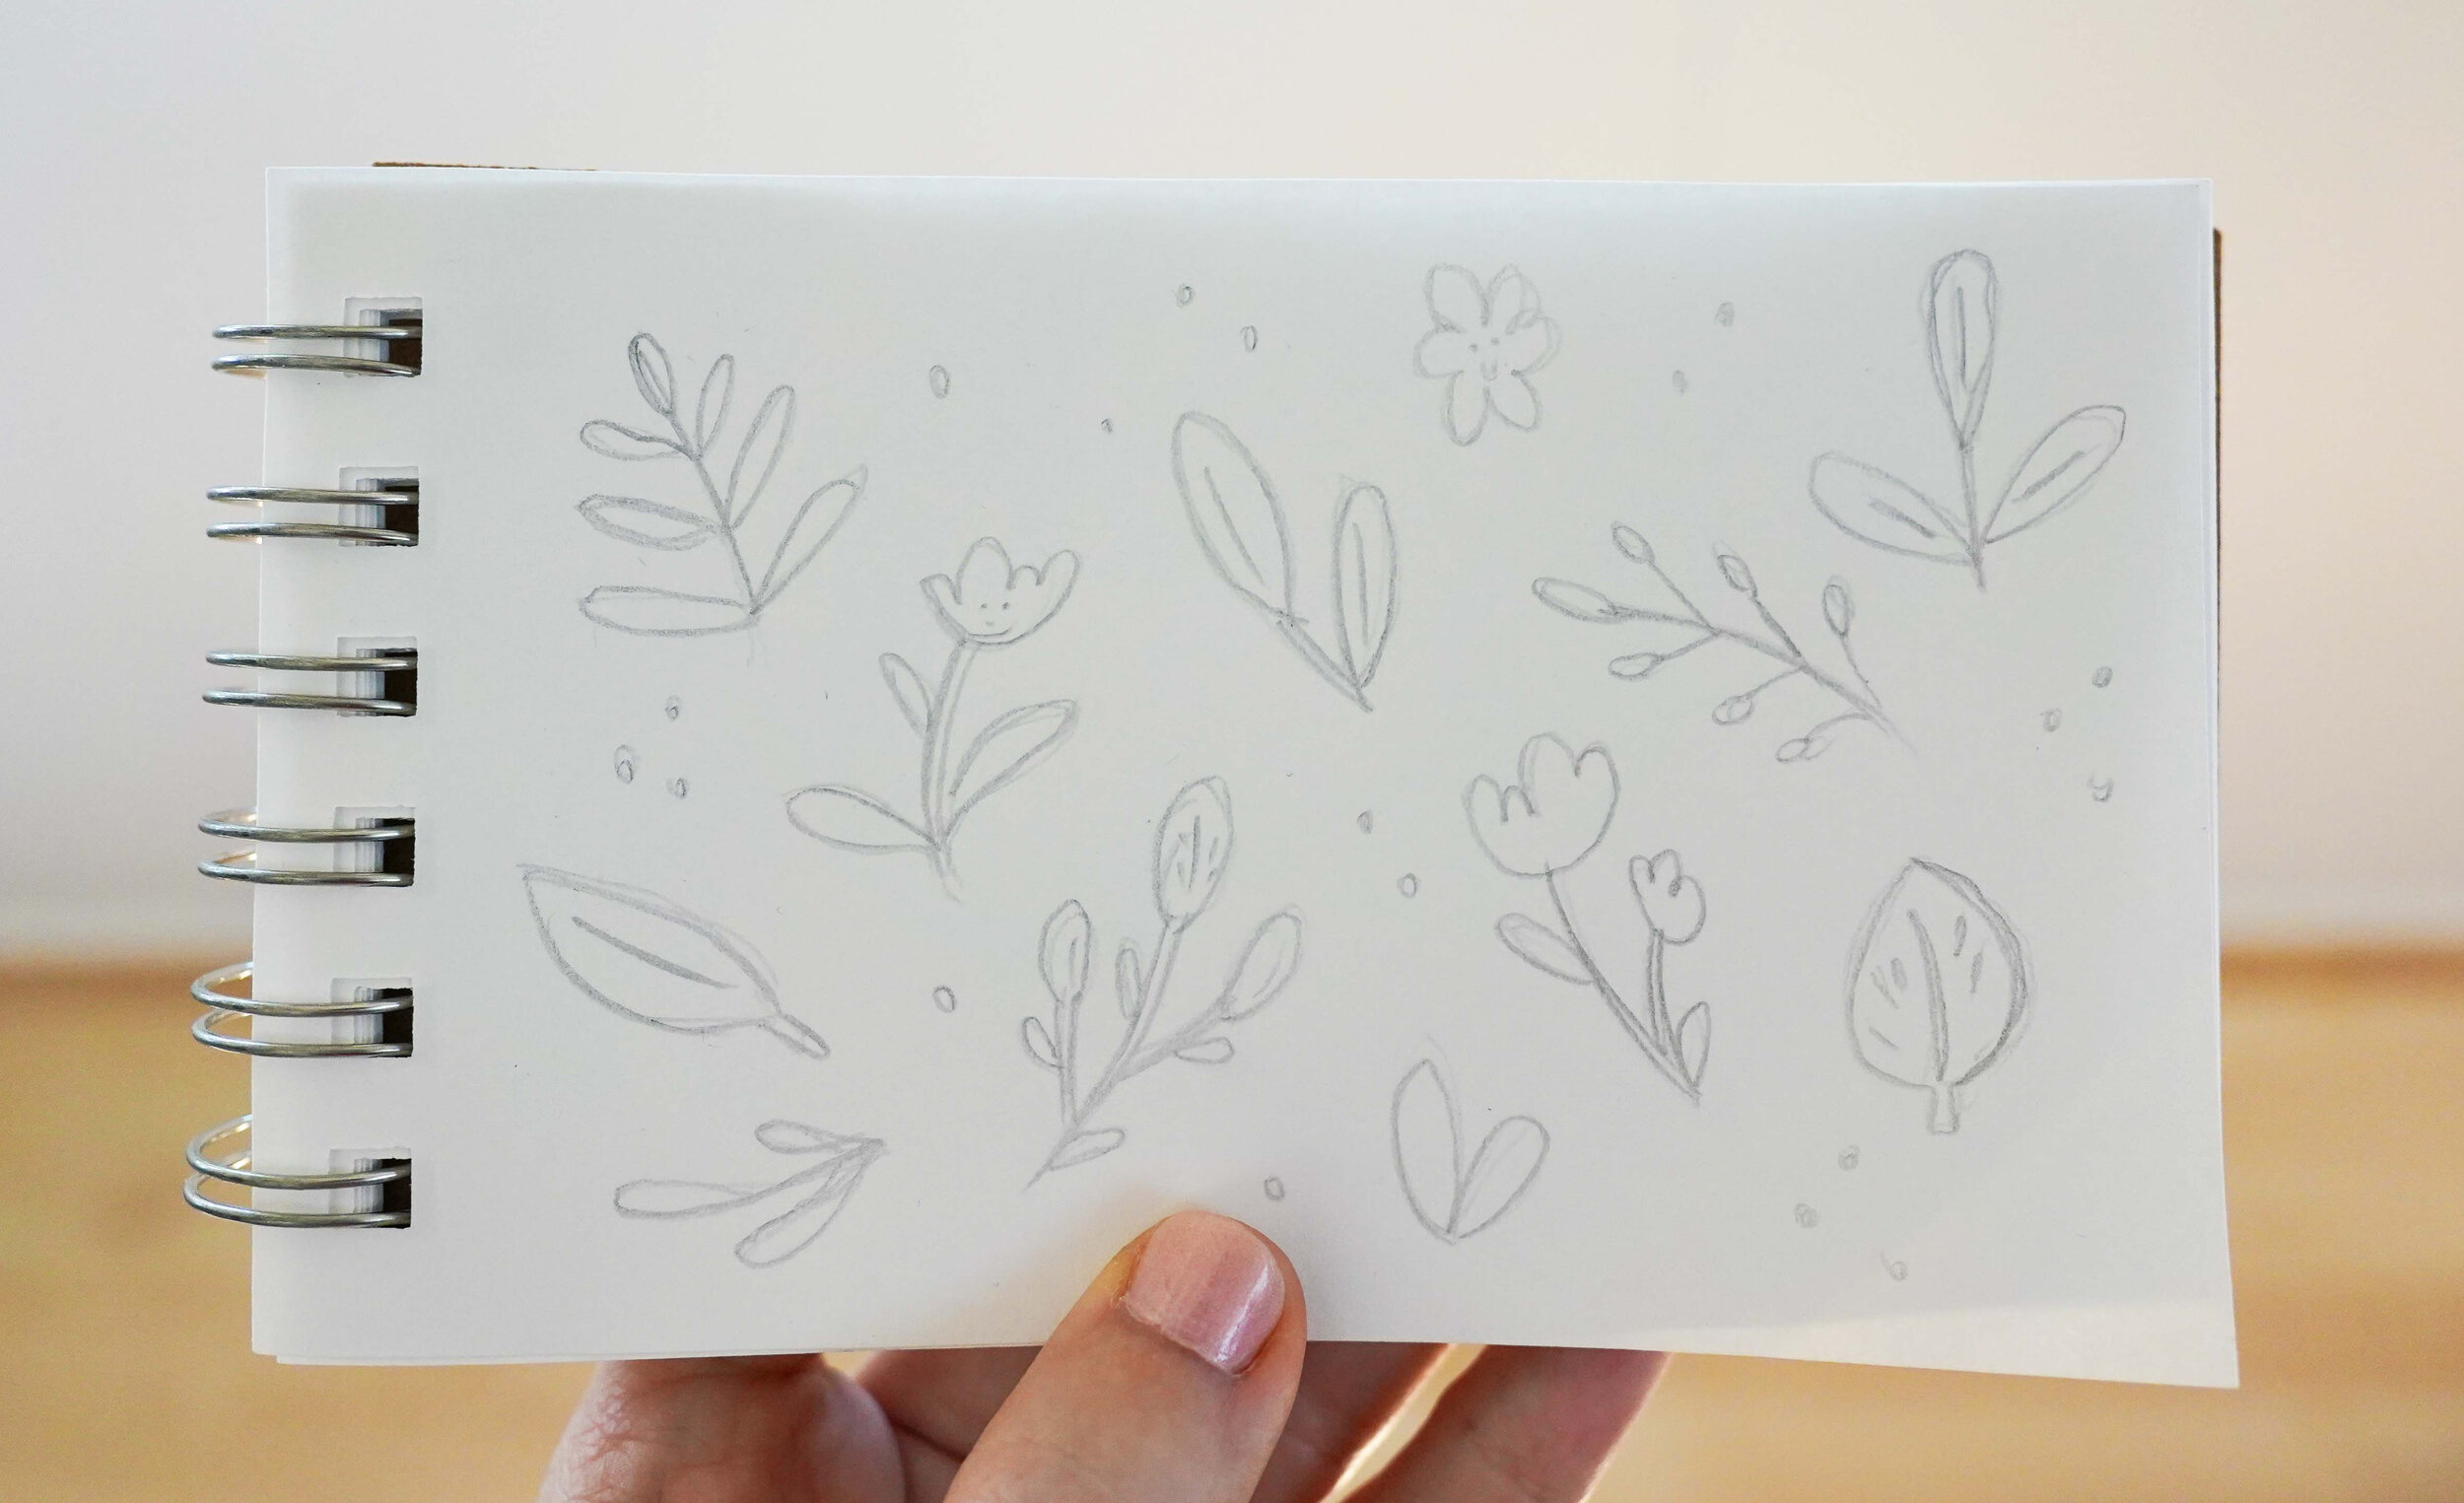
Make a rough plan
Since we’re going to be filling a whole page, I find it helpful to sketch out a rough plan so that I know I’ll have some balance to my end result. My drawing often changes a bit from this plan, but it’s nice to have as a guide!
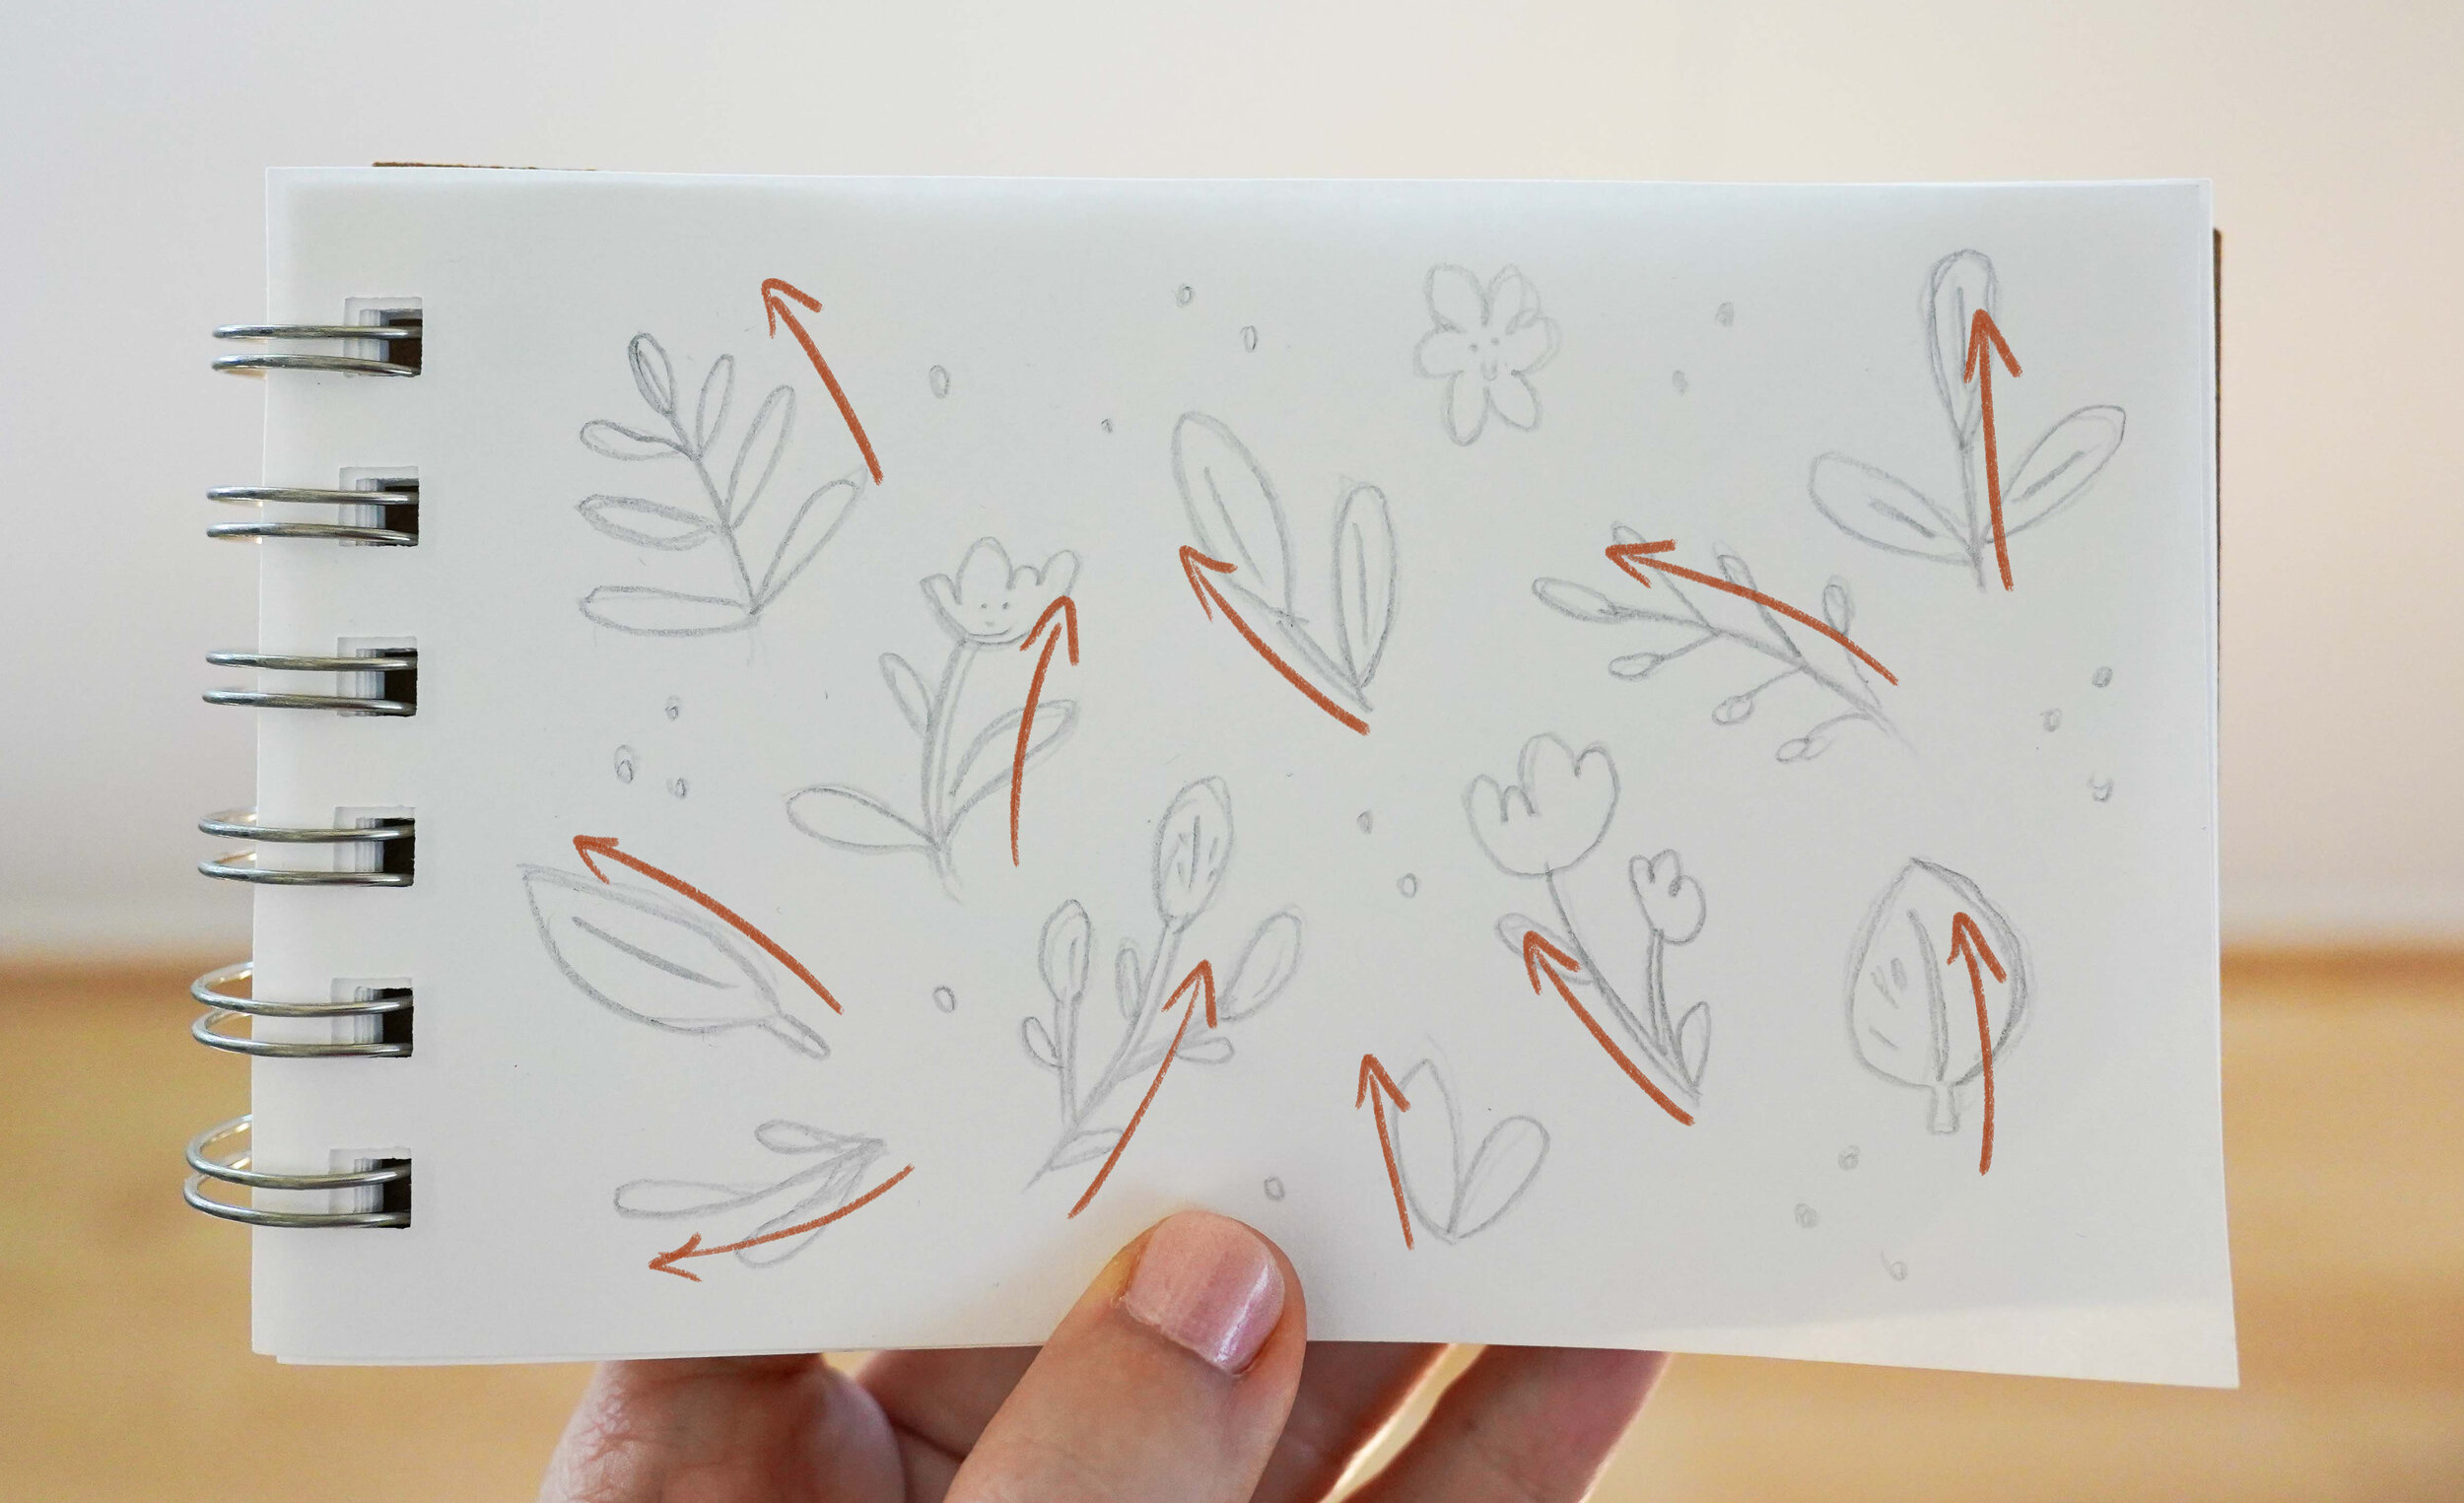
Pay attention to the direction your plants are curving. If they all curve the same way your finished product will feel a bit clinical, so for a more organic look try to have them going in different directions.
I also like to make sure I have different leaf types spread out so that I don’t have too much of the same shape in one place. You can use the same layout that I did, or play around with your own.
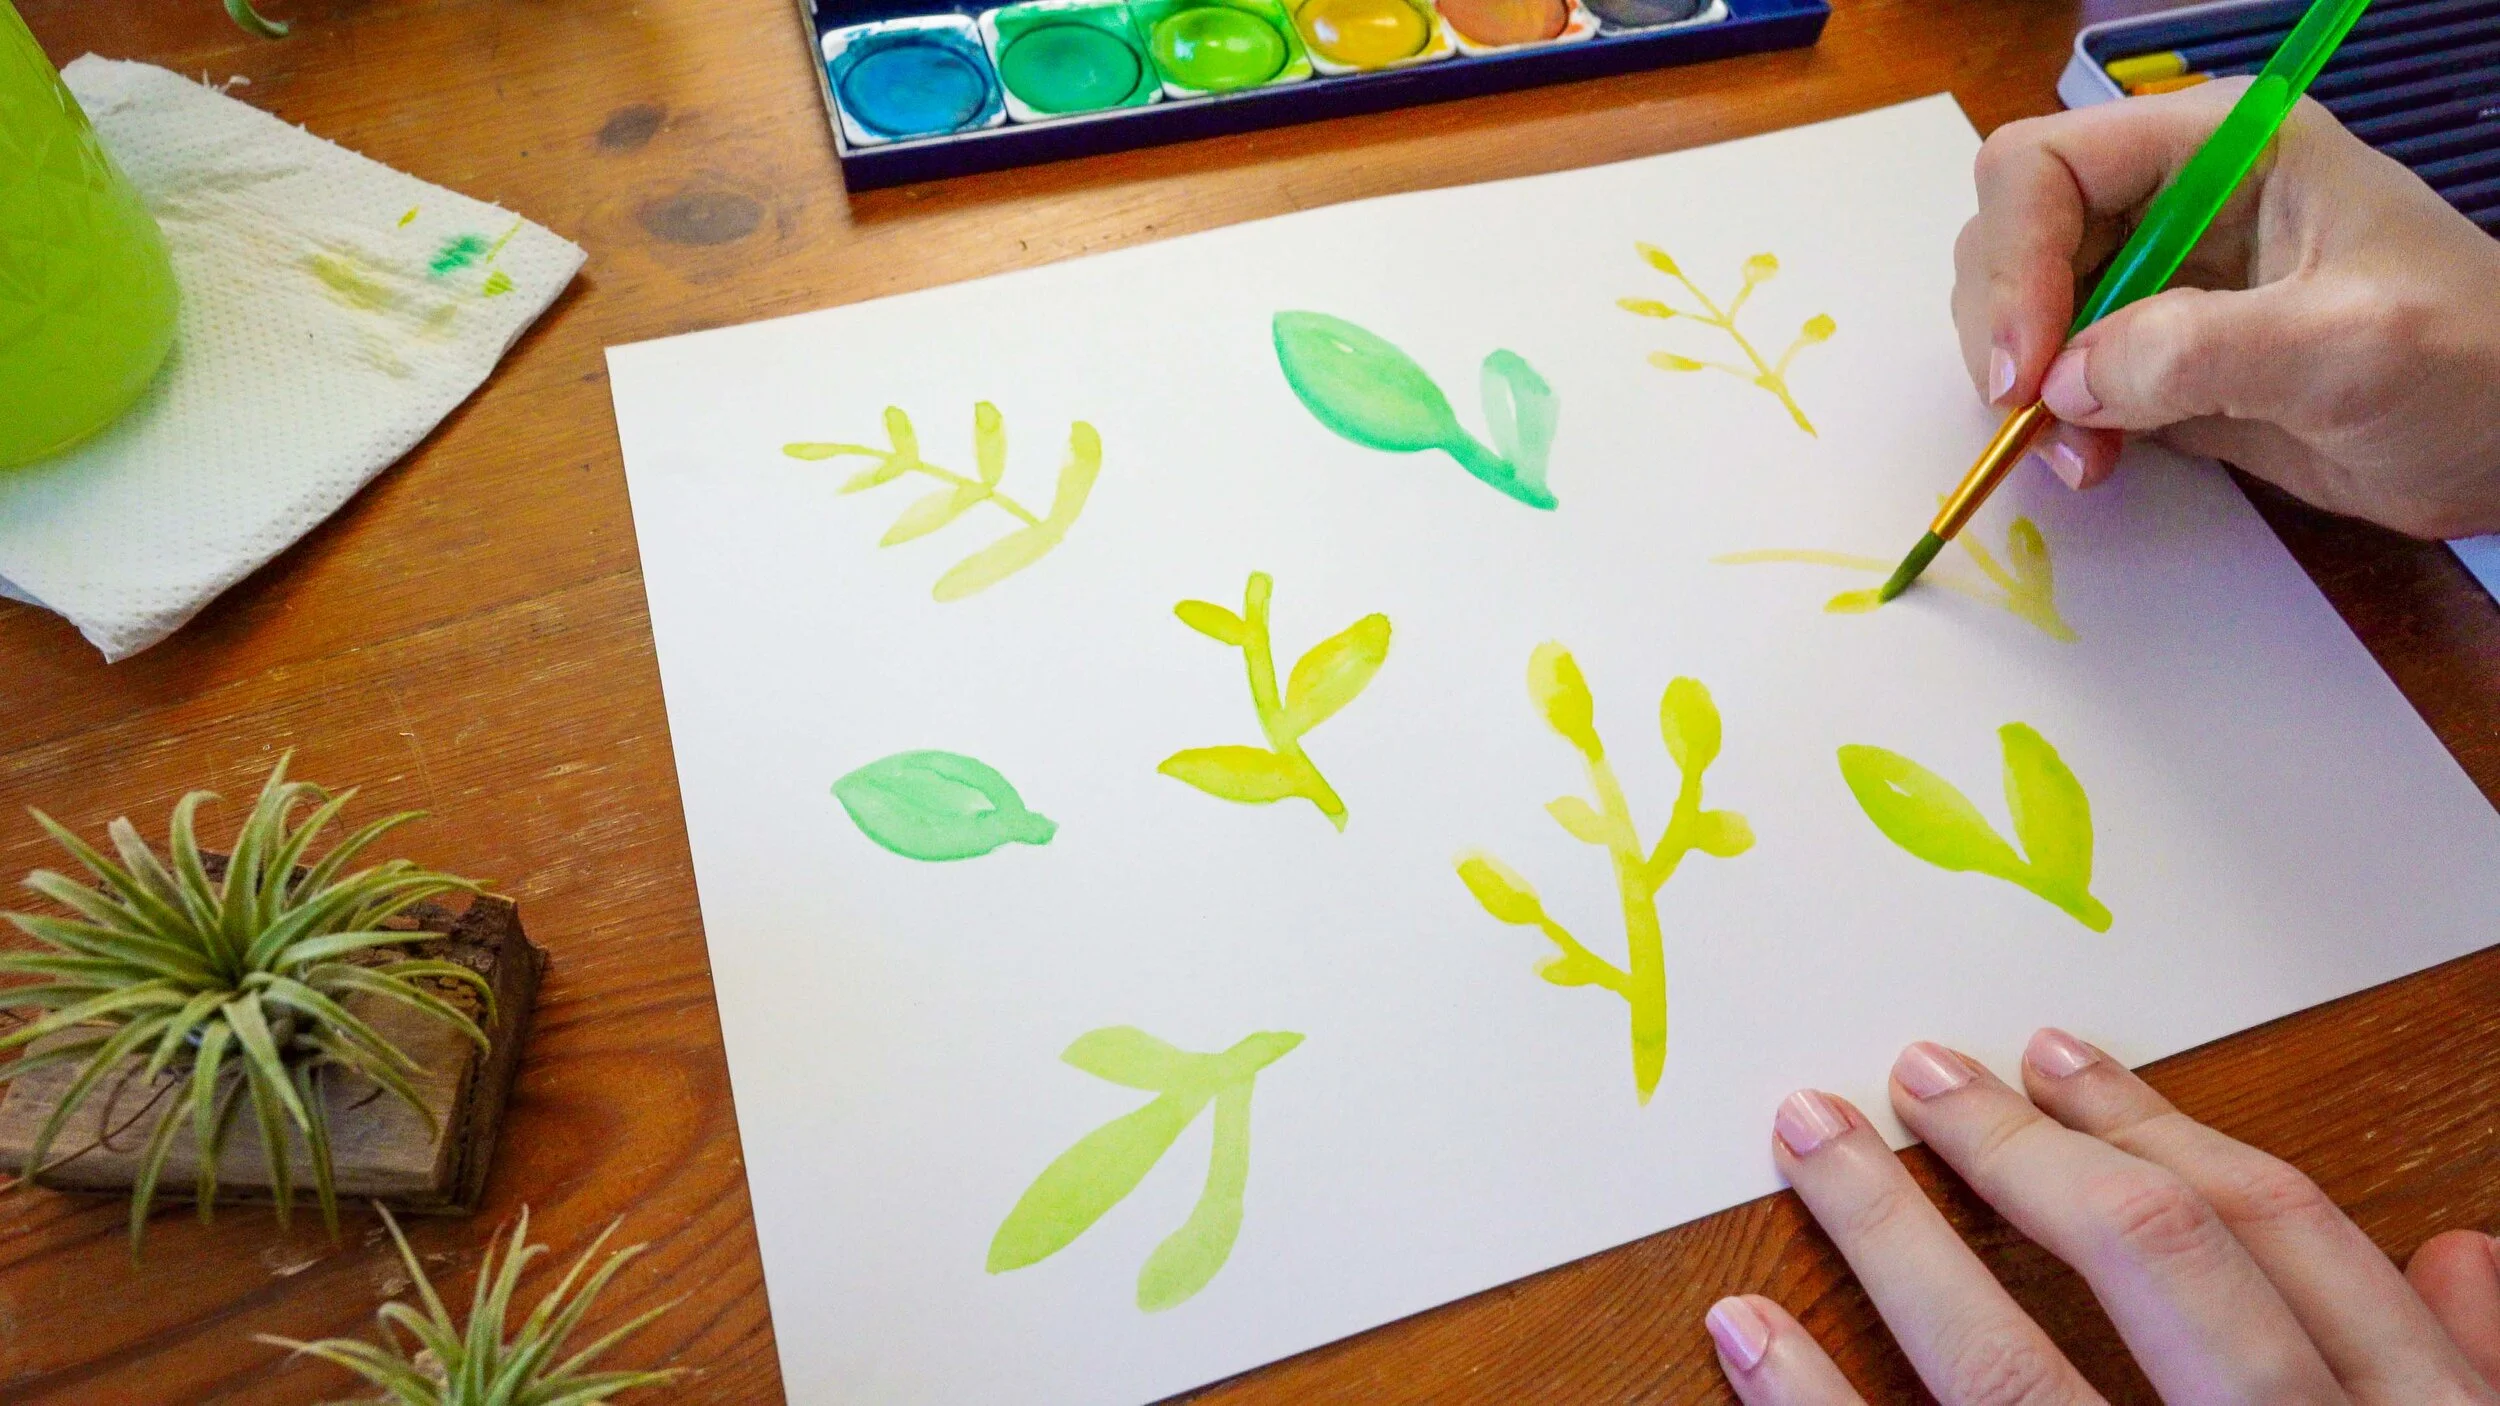
Start with watercolour
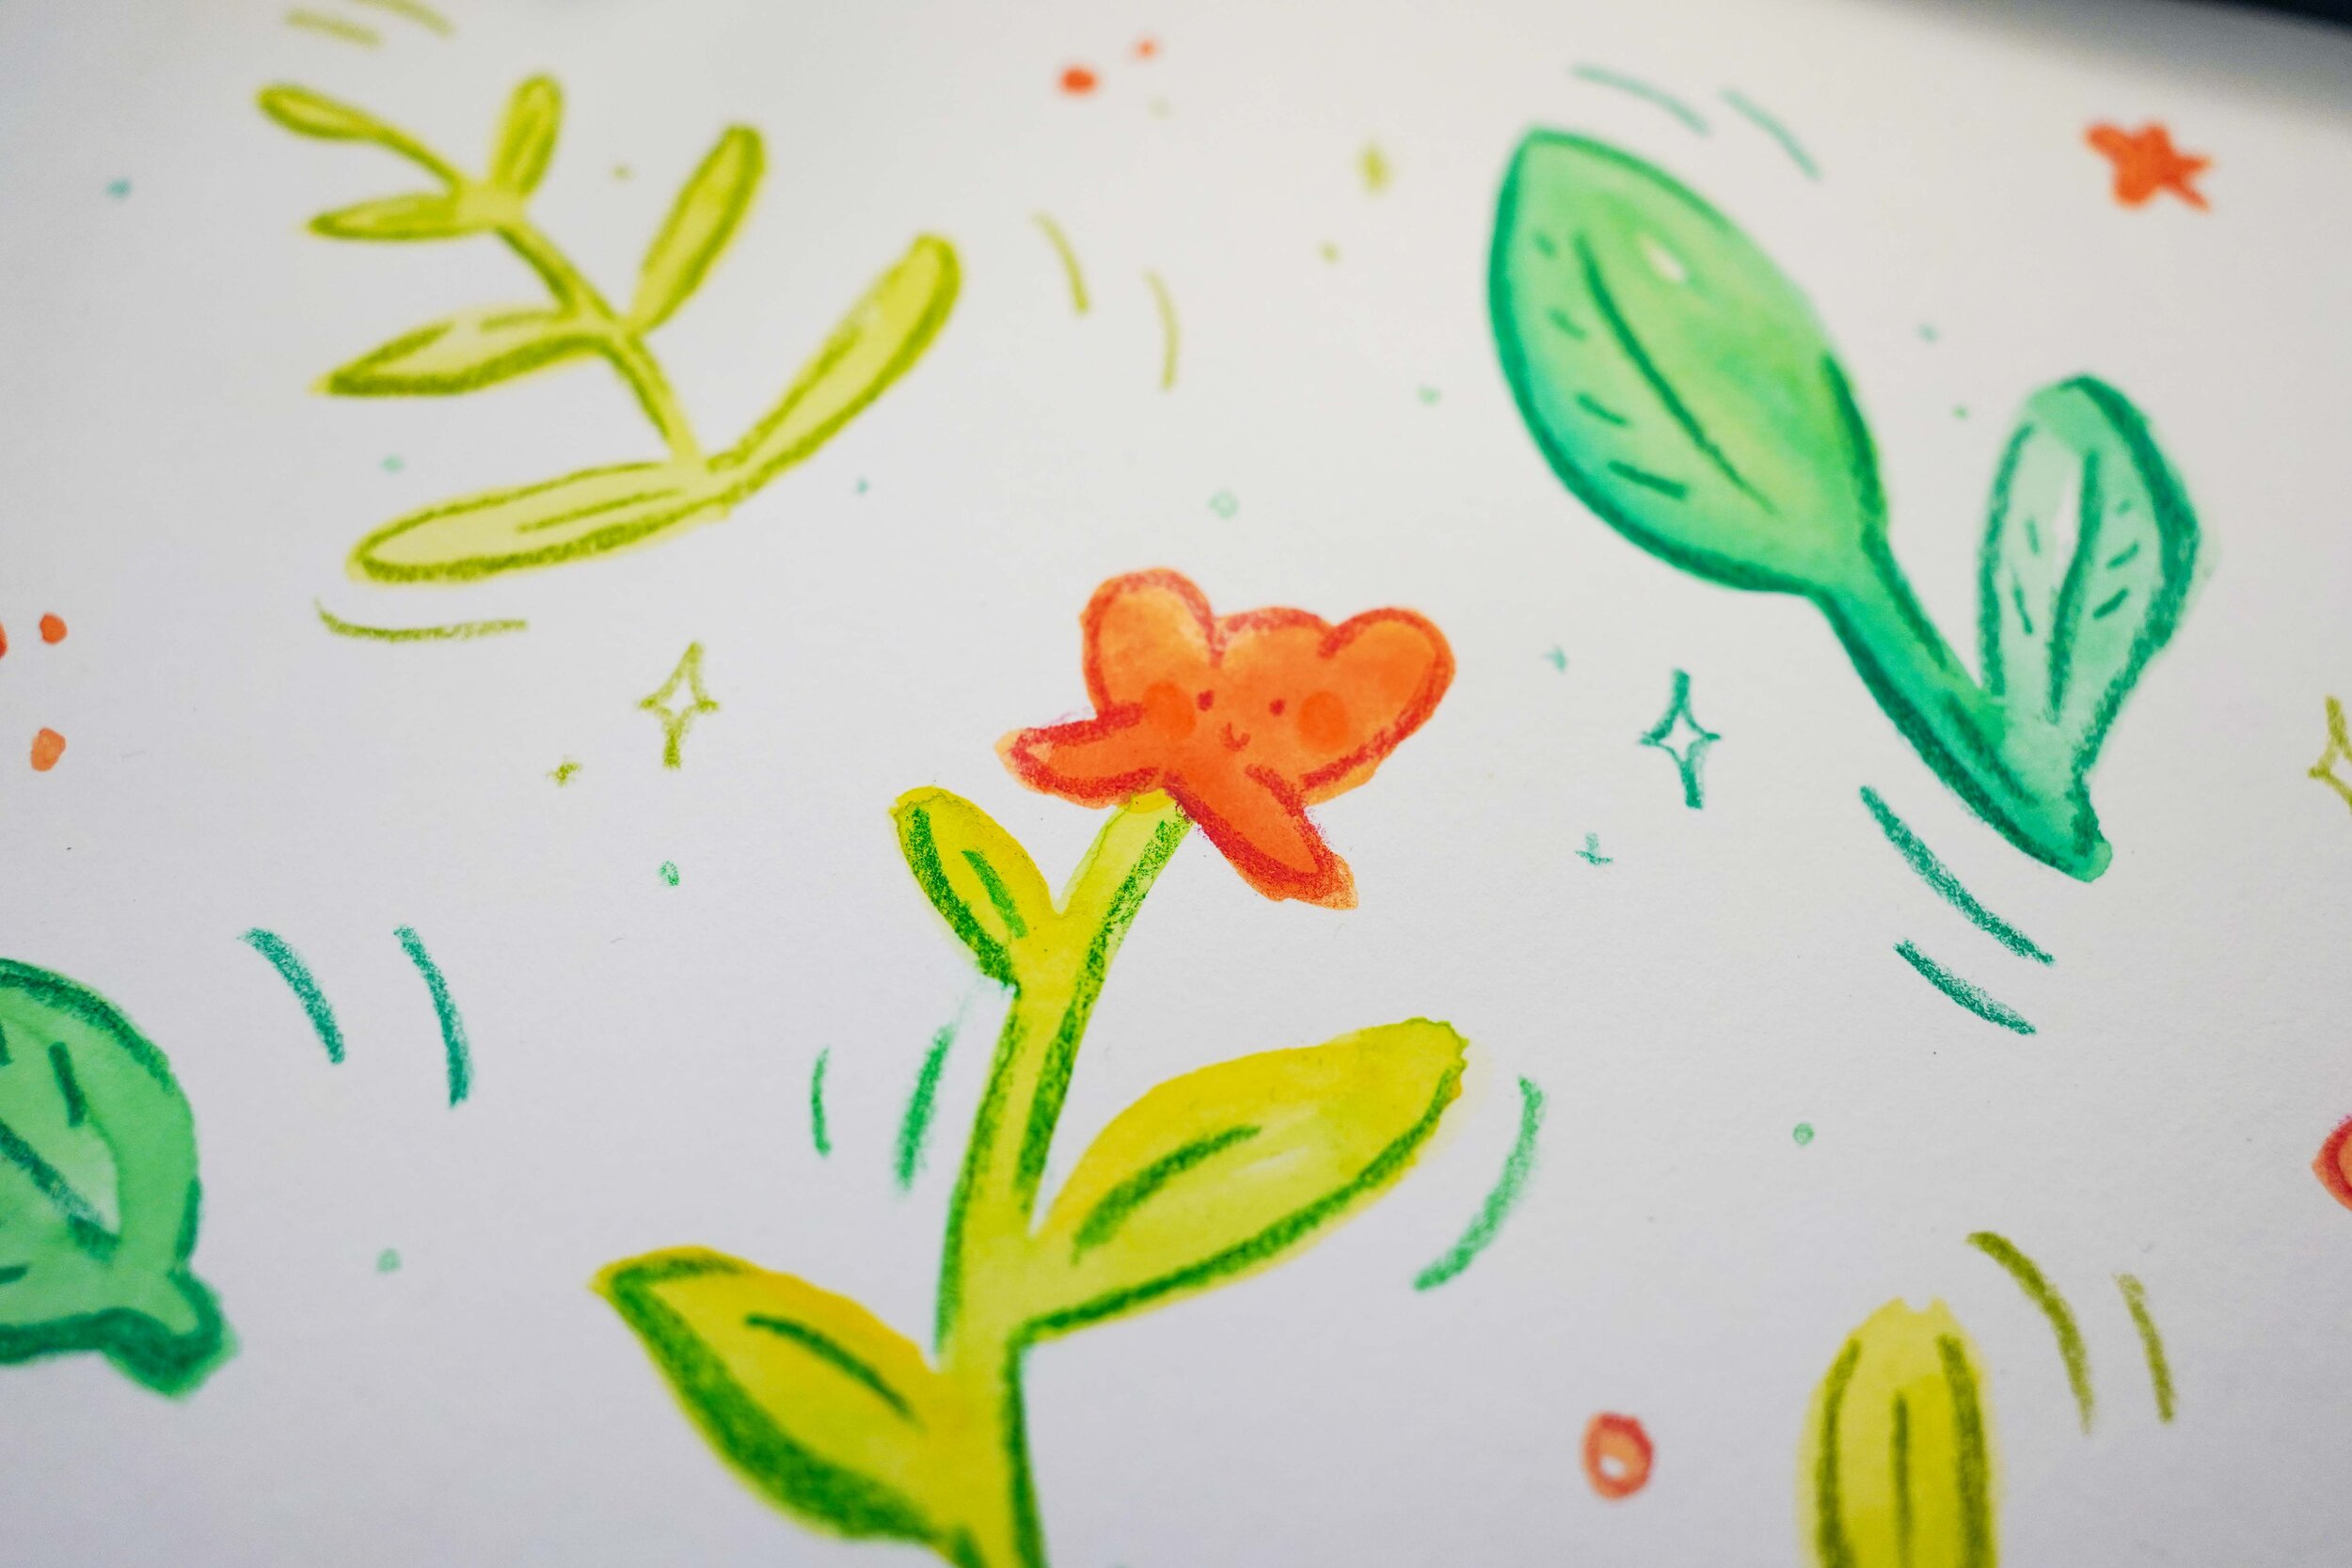
With my little guide nearby, I lay down the basic shape of each leaf in watercolour, making sure that I vary the colours across the page. I like to be quite loose and washy with this because we’re going to go over it with pencils later, so it really doesn’t matter too much how neat or uniform it is (the messier the better I say). Try and leave some areas of your plants with less colour than others to make it look extra organic.
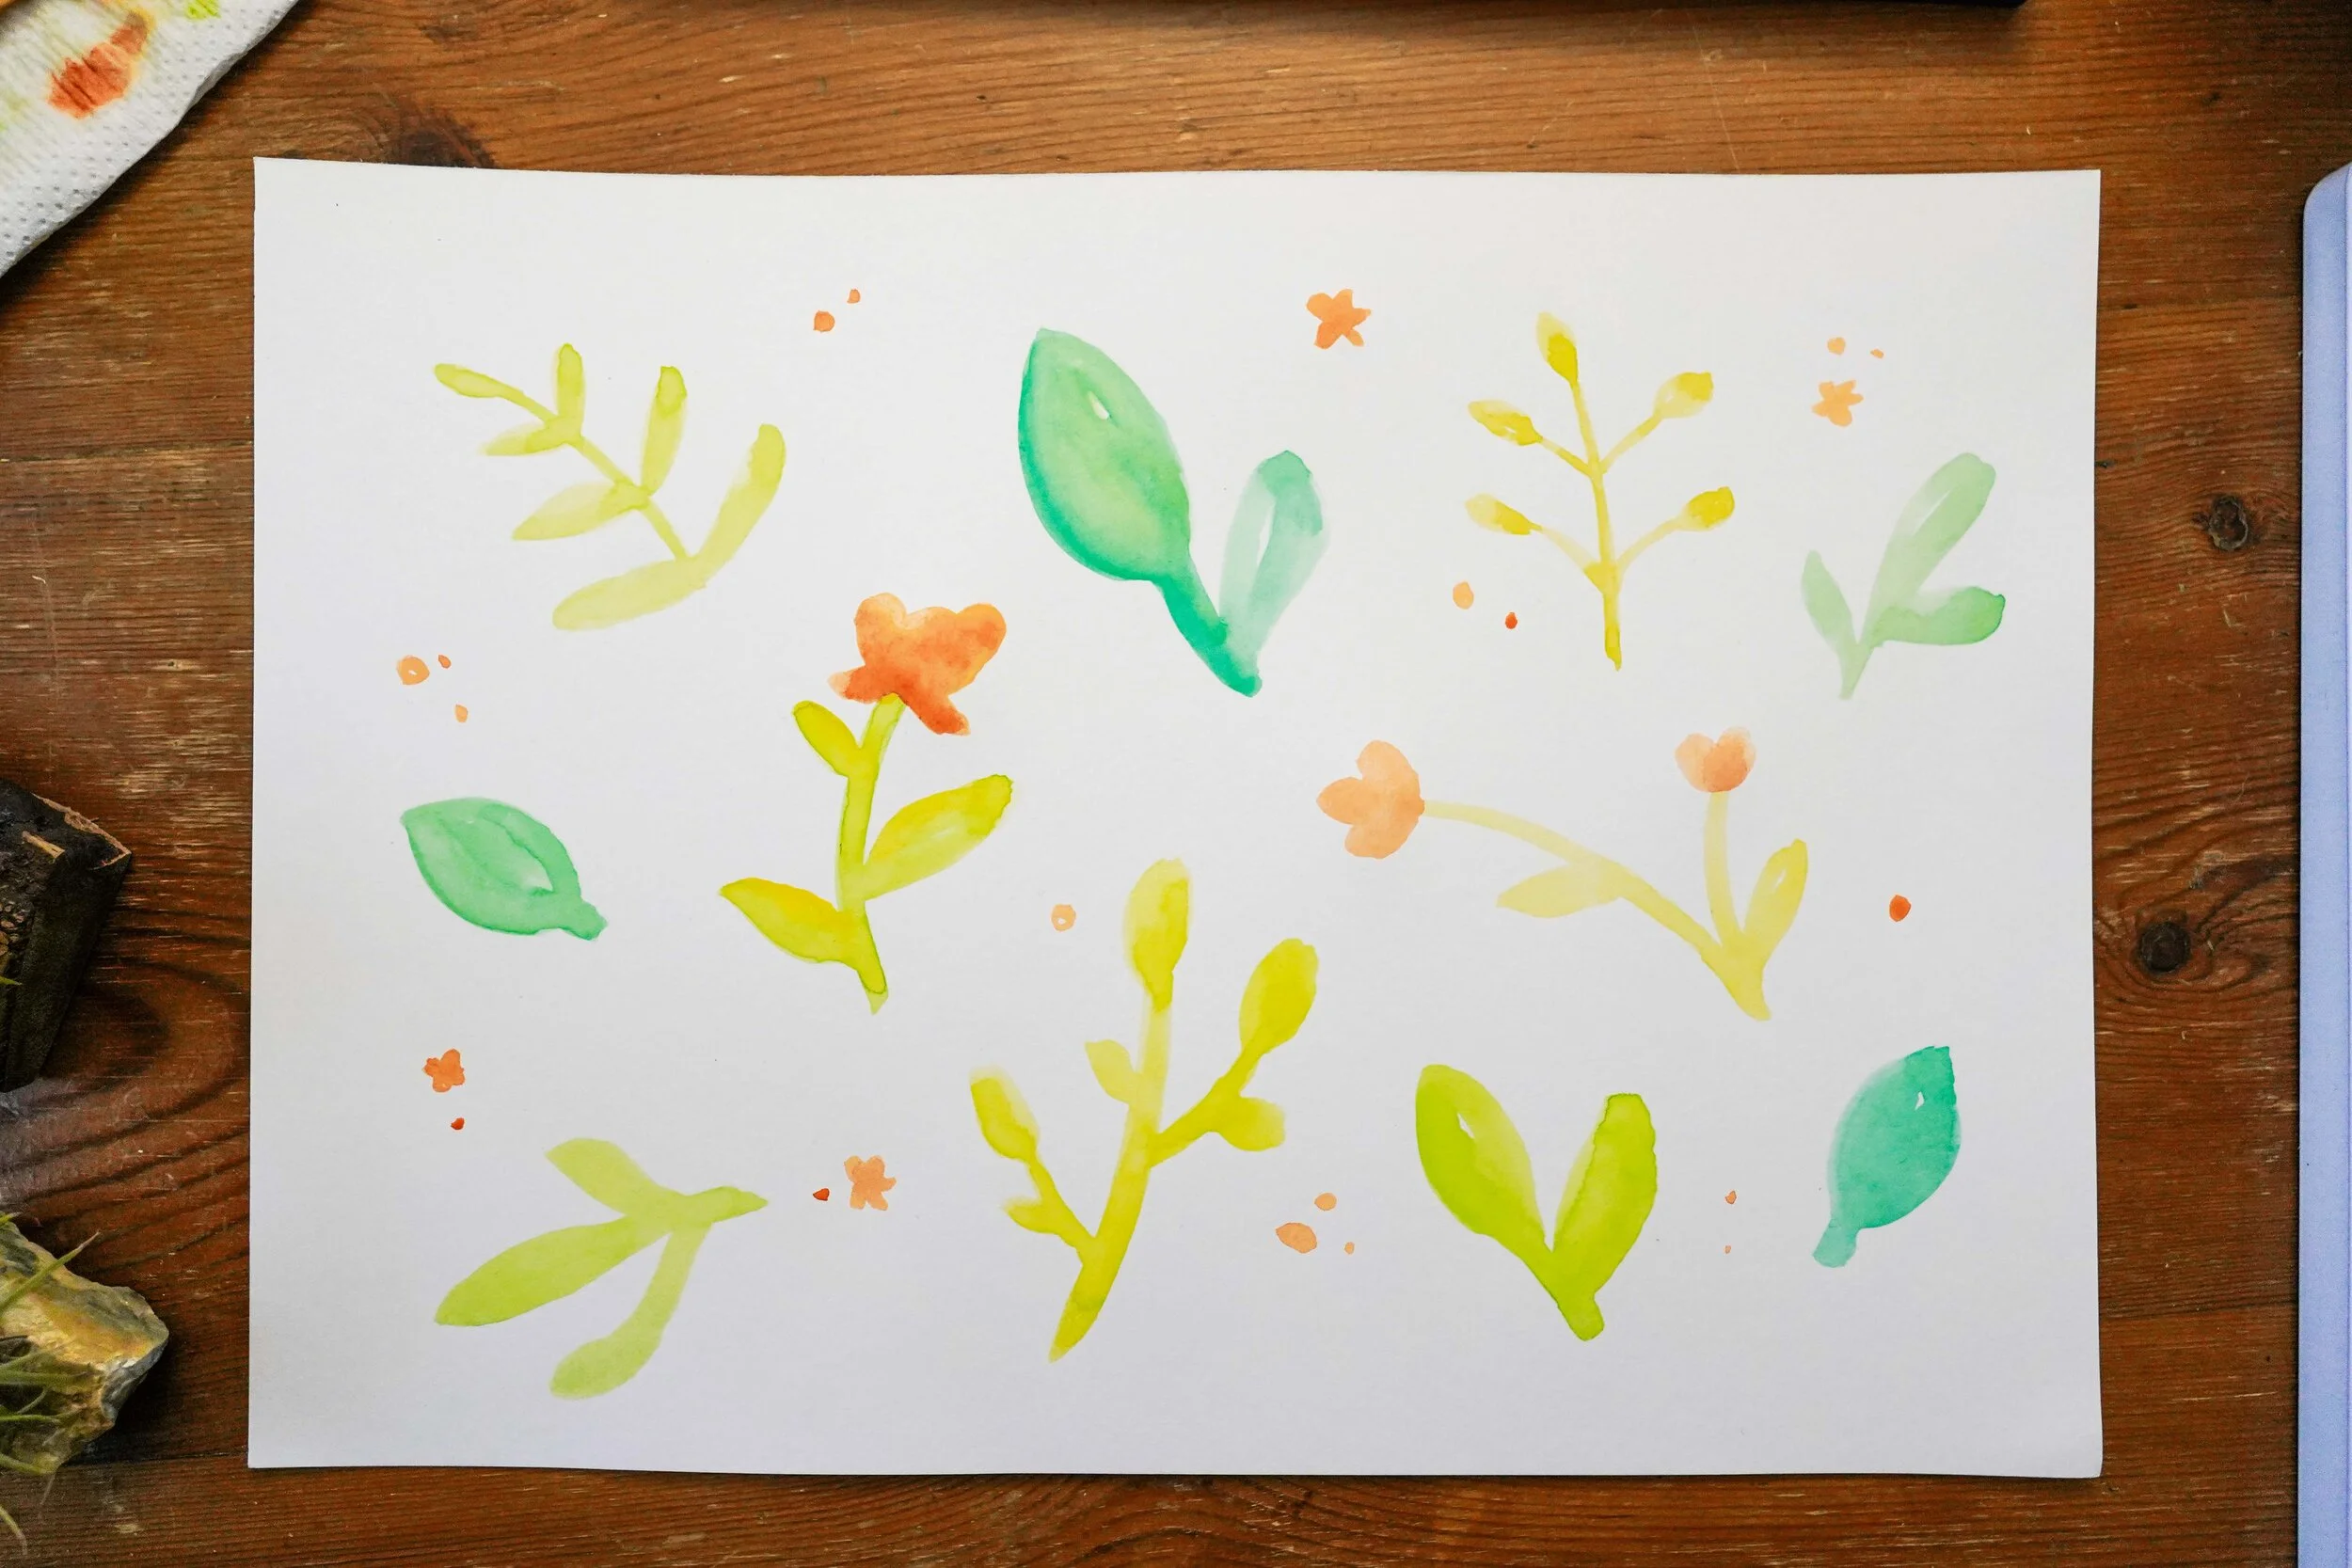
I like to add little dots and shapes in the blank spaces of my drawings to make it a bit more dynamic, balance any areas that are feeling off kilter and because I think they look a bit like sparkles! I add a few with watercolour, and I’ll add a few more with pencil later.
I’ve also drawn in a few simple flowers to add some colour to the page.
Let it dry
This is super important! Make sure your paint has dried completely before moving onto the next step. Pop the kettle on maybe?
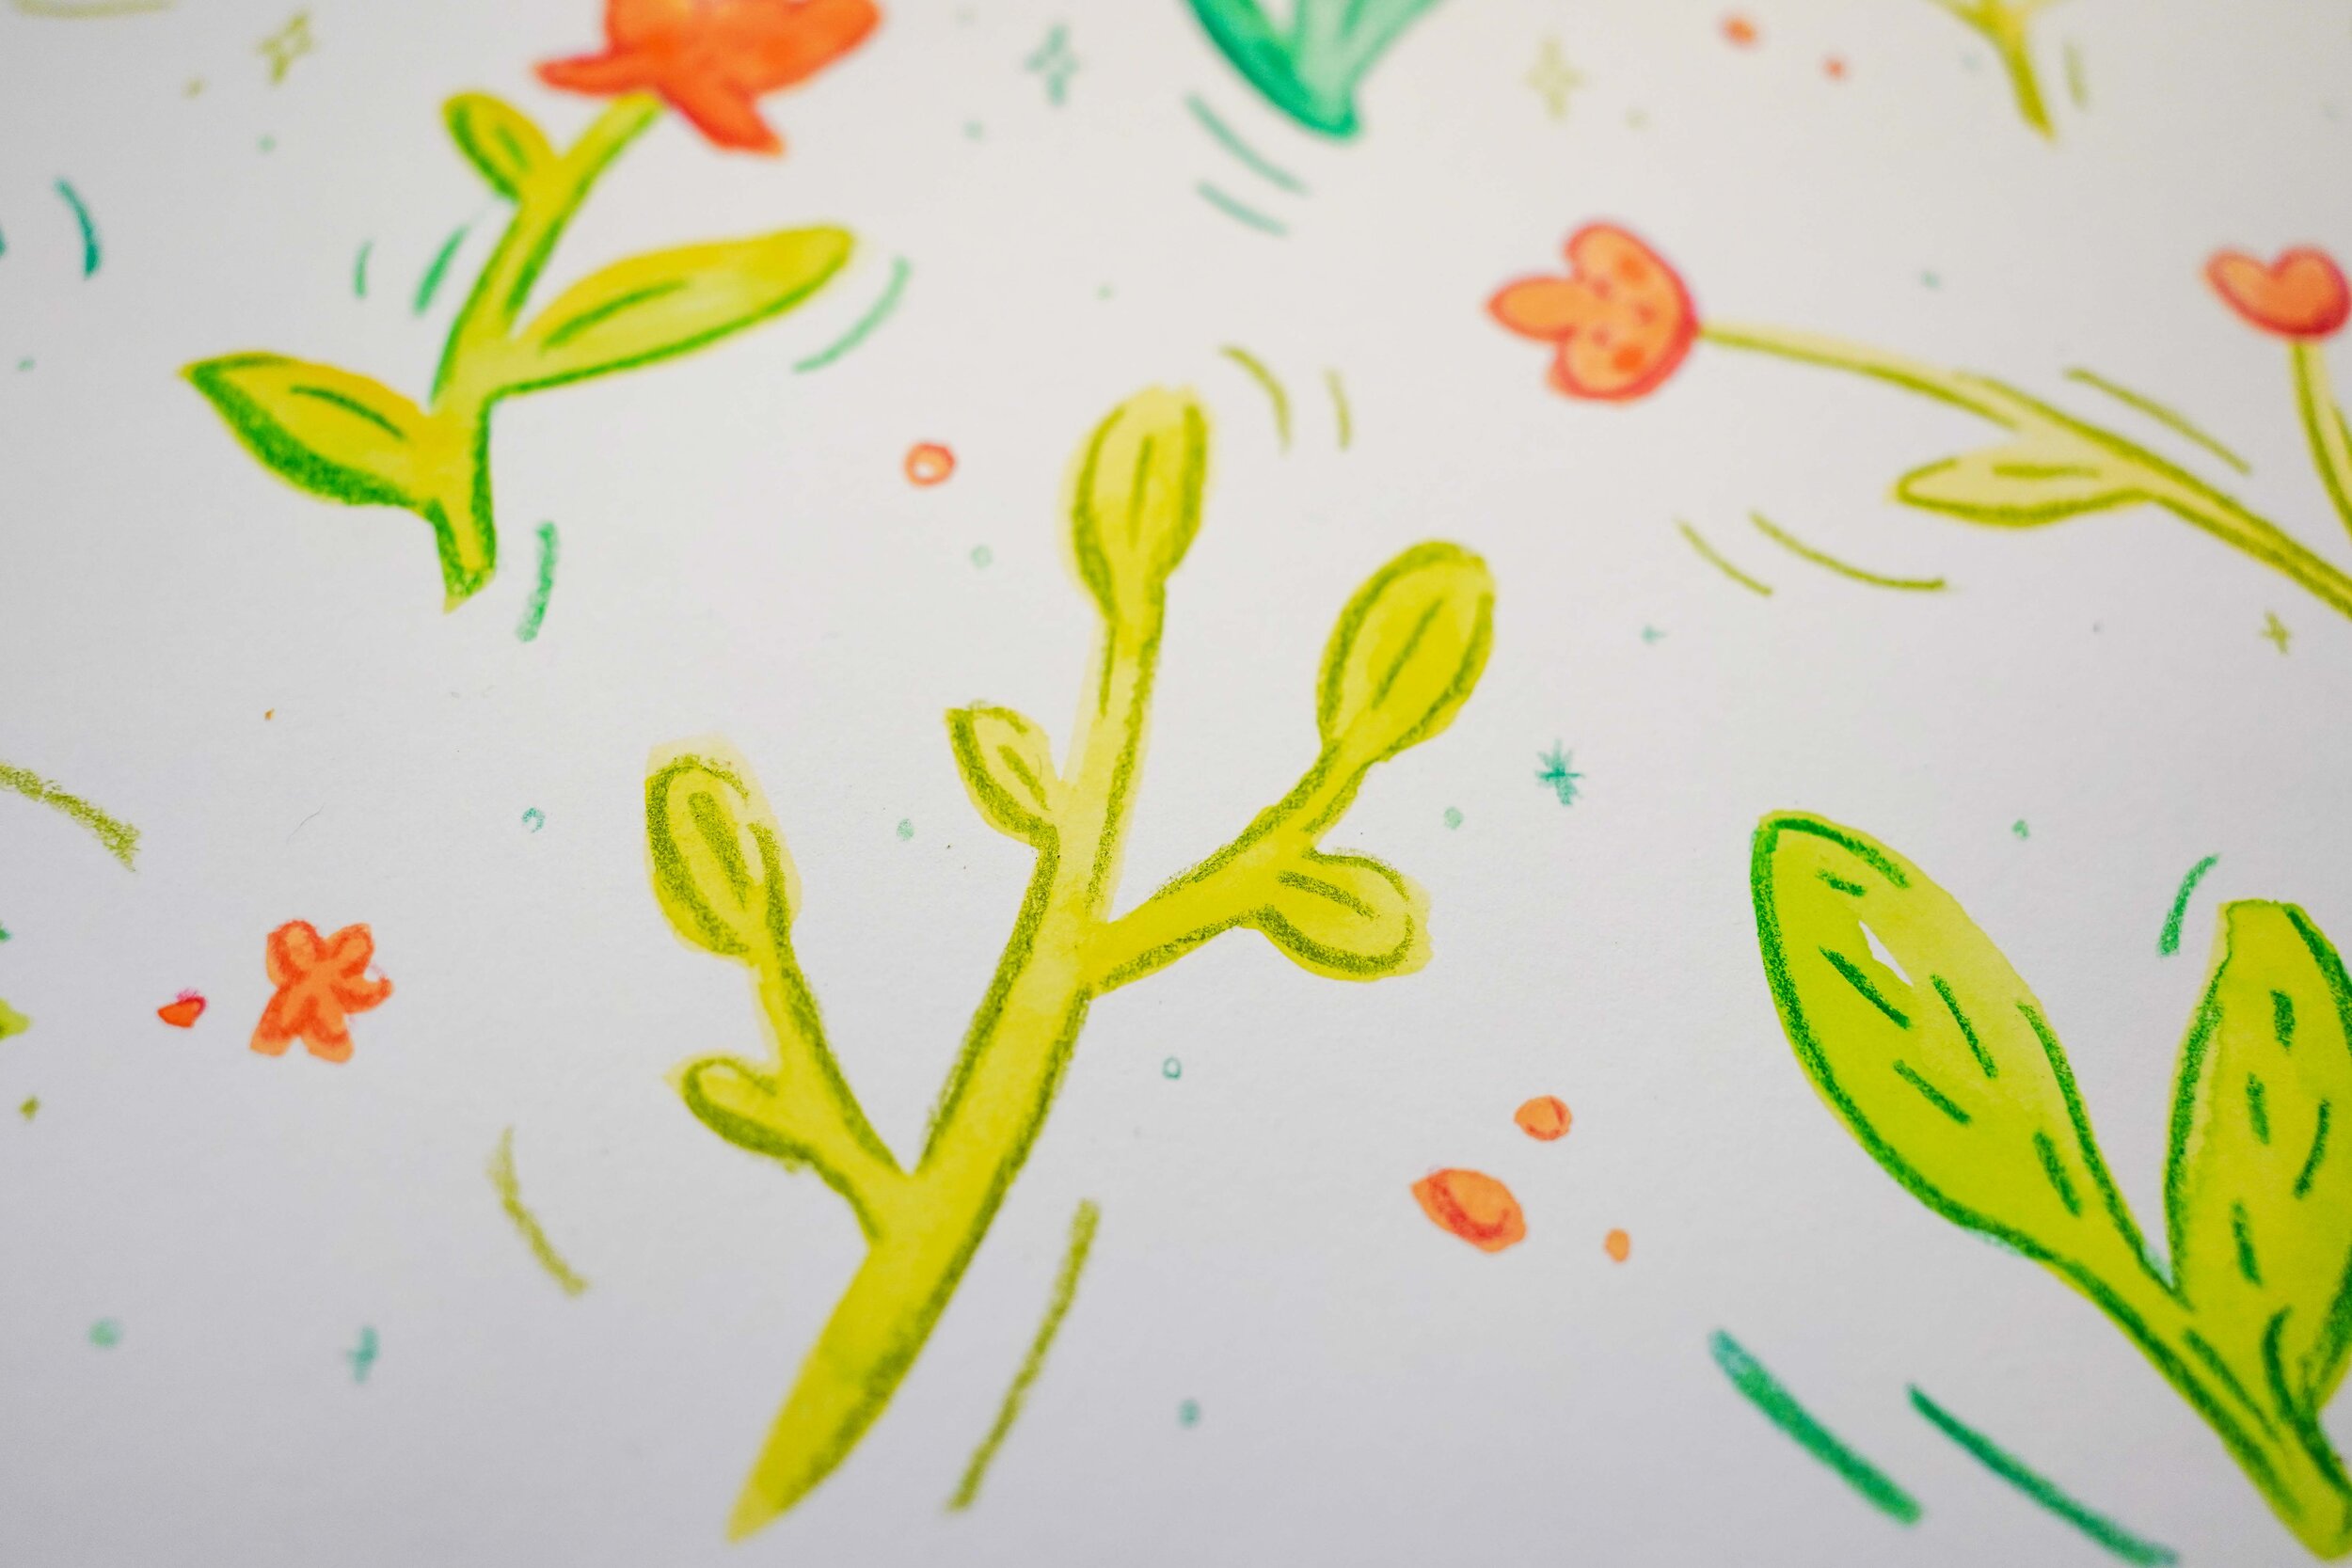
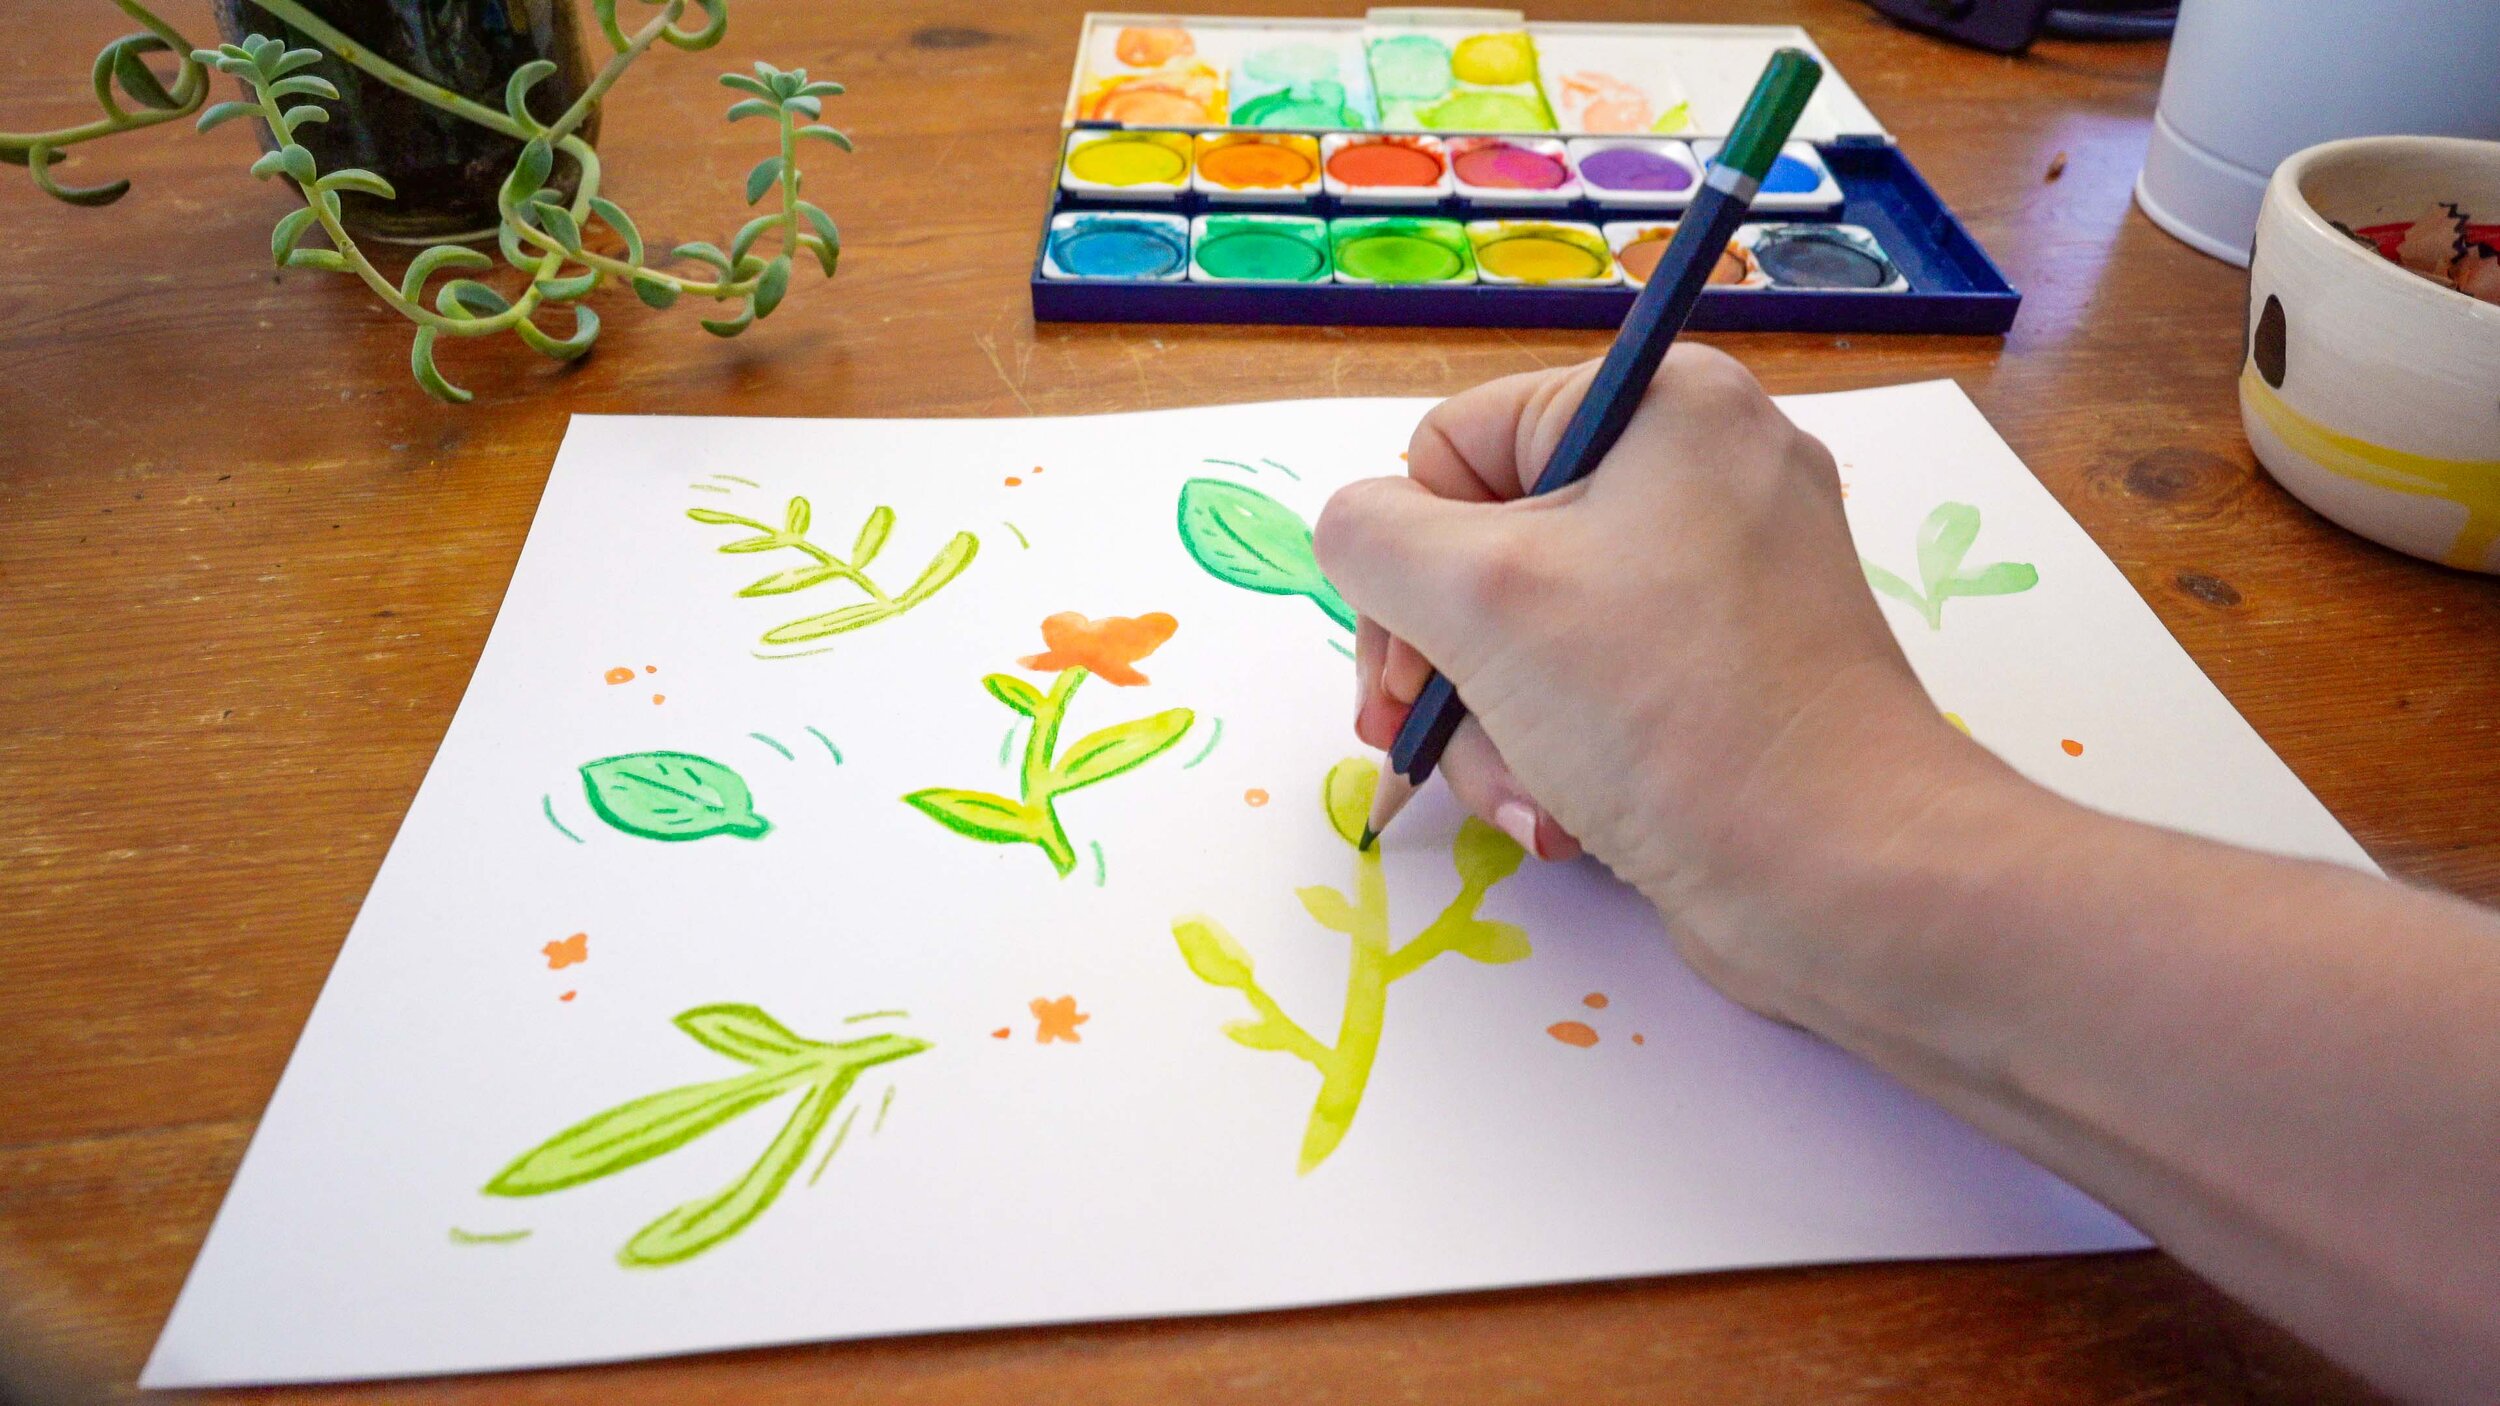
Pencil time
This is my favourite part. I love the texture of the pencil on watercolour. Add outlines and details to the leaves, varying the thickness of your lines and leaving gaps so that you’re not outlining the whole shape.
I add little faces to the flowers too to give them some personality because I can’t resist.
Finishing touches
Now I go and draw in some ‘sparkly bits’ (that don’t actually sparkle) throughout the blank spaces. I use different shapes and sizes, and keep some all alone and put some in little clusters. It’s really easy to go overboard (I normally do) so try and stop when the whole illustration feels balanced.
Here are some ideas for shapes that I use:

And we’re done! The video version of this tutorial is below so you can draw along with me. I would love to see what you created, so connect with me on Instagram and show me your version :)


Follow me on Instagram for illustrations Monday through Friday


